
How to Read a Garmin Fish Finder in 2026 - All Features Guide
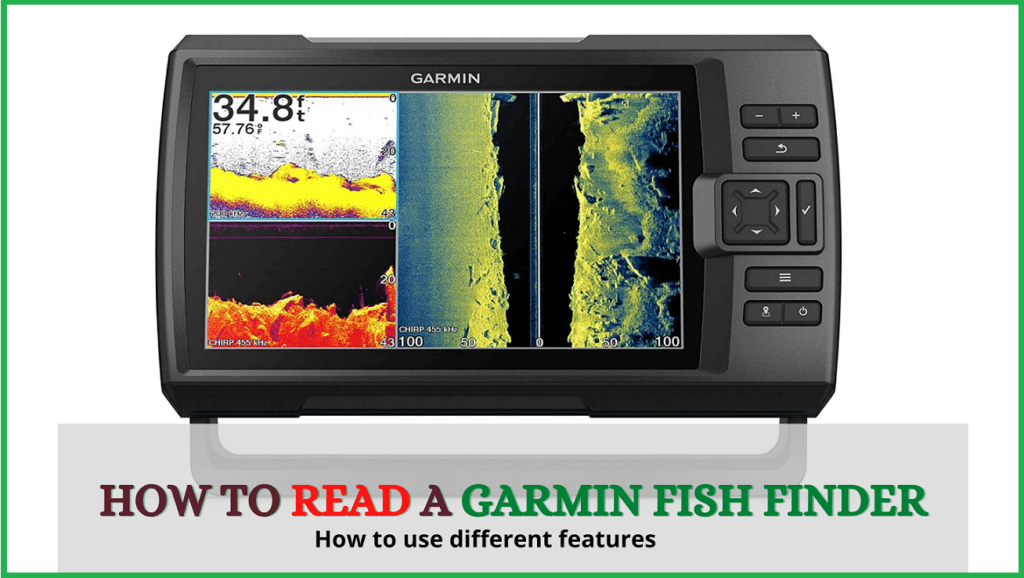
Portable fish finders made it easy to catch the fish in no time and without facing any difficulty. This gadget helped us to get perfect spots for fishing as well as seeing underwater to know if fishes are here or not. Garmin fish finder is one of the best portable fish finders and it is very easy to use as well as read. In this article, I will guide you step by step about how to read a Garmin fish finder. At the end of this topic you will be able to read the signals and everything on your Garmin fish finder. Read the article to the end and feel free to submit any question in the comment section.
You can also check some Best Garmin Fish Finders available on amazon.
How to Read a Garmin Fish Fiinder
If you are reading this article, than you must have bought a Garmin fish finder till now. If not, you can check some best portable Garmin fish finders here before buying one. Almost all the fish finders made by Garmin works similarly and you can understand the process of reading any model from this article. Let’s get started without wasting any time.
Garmin is unbelievable easy to use and read. For example, if you want to user sonar, you will just clicks on the “Sonar” option after turning it on. If you want to see chart up, just click on chart and you will see the chart picture with a preloaded map of the lake as well as your boat info. So, you can say that Garmin fish finder is very good and easy to read during kayak fish finding or fish finding in small boats.
In the below section, I will explain how to read/use different features in Garmin fish finder. So, if you are using Garmin fish finder, you will see some different features on screen like “Chats, Sonar, Down View, Traditional View etc.” Below is the detail of all features one by one.
Use/Read Sonar Feature
Sonar option will be used when the boat will be moving. The sonar screen will show you the depth and the covered area if there are fishes under here or not. In the screenshot below, the top is the surface of the water and at the bottom you can see that it is a signal about a big fish under there. The depth is also given at right side of the screen. So, you can try to catch this big fish in the best sport.
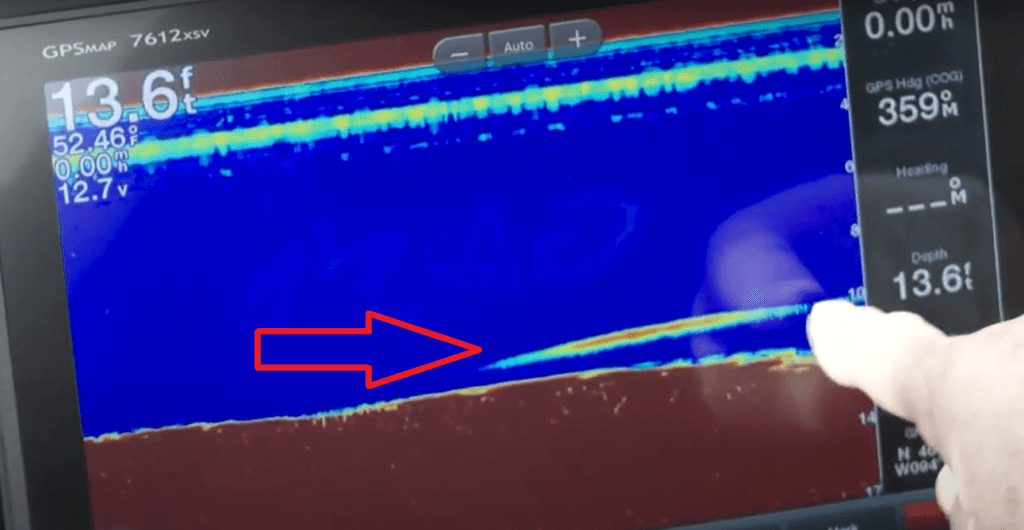
Similarly, if you are seeing yellow and orange mixed colors at some place with large area, it means, there are many fishes available here and it is the perfect sport for fishing.
Use/Read Charter Feature
Charts are very useful and very helpful while finding the best sport for fishing and deep water where you can find many more fishes. This option is very useful for kayak fishing, or fishing on small boats in lakes or sea.
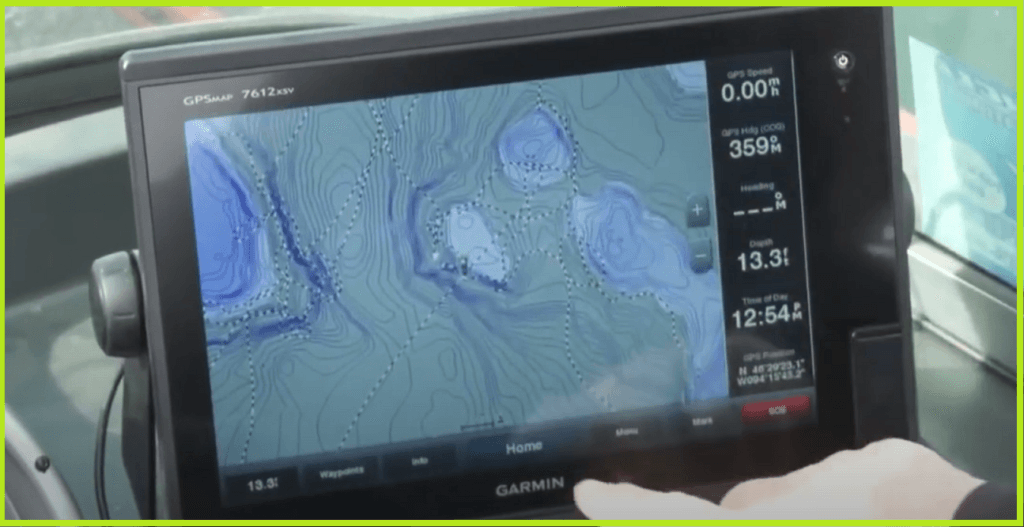
Turn on your Garmin fish finder and go to the chat section. You will see the image on screen like the one below. After clicking on the charter option, you will see the location of your boat in the map. You will see a preloaded map on the screen with all the lakes, island and other things. Main thing is, you will see the boat where you are right now and in which lakes. So, it’s amazing.
As you move, you will see the plot trail right on the screen. You can save so much time because it makes everybody a navigator. You will be able to see the deeper water signals on the charter and it will help you finding the best lakes as well as best spots for fishing.
Sensitivity Unit – Gain – How to Set
How to change sensitivity to know you are seeing a fish in Garmin Fish Finder?
The sensitivity unit in in portable Garmin fish finders is called “Gain”. Click on the gain and you will see the screen shown below in the image. Sensitivity on a Garmin sonar unit is extremely important when you are looking for an individual fish.
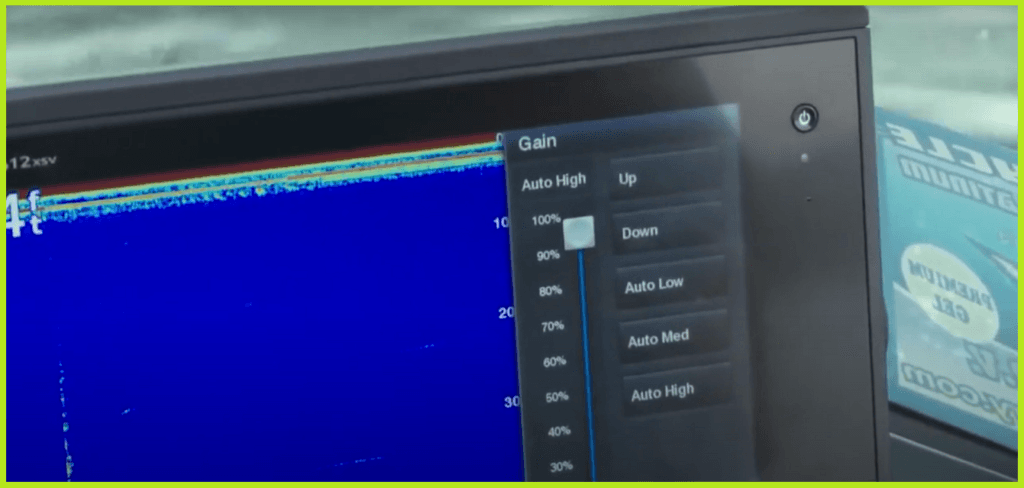
Just remember that, the sensitivity unit is like a volume on the radio that if it is very low you will not hear anything and if it is too high you will not hear anything again due to noise. Similarly in the portable fish finders you need to set the sensitivity very carefully. If it is set to very low, you won’t see the fish and if it is very high, you will see the distraction but not a fish.
So, set the sensitivity as high as you can get it without saturating the whole screen with noise. The best way to set the sensitivity is to move your boat and try to see the screen while increasing or decreasing the sensitivity and set where you think the view is good enough.
Chirp Feature – How and why to use it?
Chirp is a new feature in Fish finders which is very helpful and it’s been around for years. In the past years chirp transducer was very expensive and no one was able to use this.
A fisherman should use this because it gives the less interference and better target separation. It means it will show the separate fishes to fisherman from the bottom with less interference. It is a great new feature and best thing is, it is affordable now.
Why you should use a Sonar View instead of traditional view?
For years we all had traditional sonars but just a few years ago, down view and side view became available. Down view and side view gives a quality picture of what’s down there.
So, with traditional sonars, you will see the bottom like weeds and stuff sticking up in straight lines. Sometimes you will see weeds as structures and you will not sure about it.
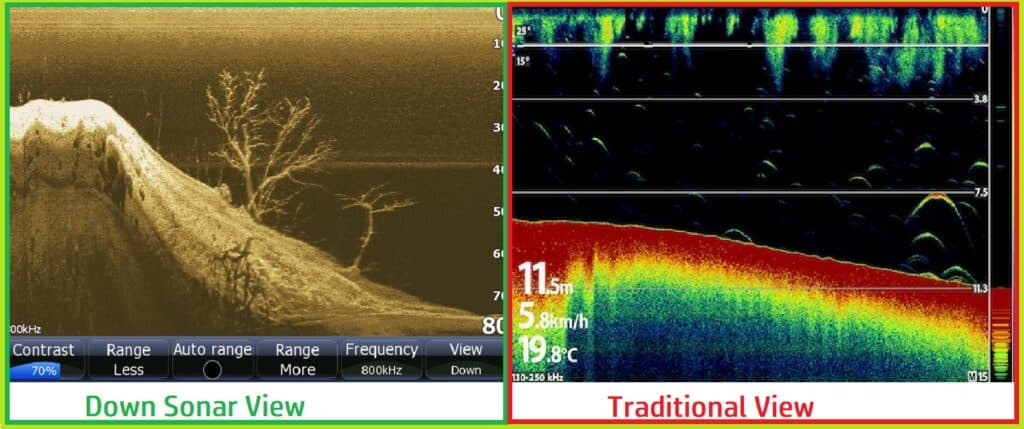
With down sonar view and side sonar view, you will see the high quality picture. You will be able to know where it’s a weed bed or what the objects are. You will see the weed standing up off the bottom as plain as a real picture taken from the camera. So, it is very easy to read Garmin fish finder in down sonar view.
With the traditional view, it was difficult for the fisher to distinguish between fish and an object. But in the Down sonar view, the fish will be shown clearly on the screen same a real picture. So, this feature really helped the fisherman and everyone should use down sonar view in fish finding using Garmin instead of traditional fish finder view.
What are the built in features of Garmin Fish Finders a Fisherman needs to know?
Portable Garmin Fish Finders comes with almost all the features a fisherman should know about before buying the exact portable fish finder. In most cases, the consumer use only few main features in Garmin fish finder and forgets the rest of all features.
Garmin fish finders are designed by engineers to use in freshwater or small water. These units are easily usable in big lakes as well as small lakes. These are also best for kayak fishing as well as fishing in small boats. So, you can use different features according to the area in which you are fishing.
So, you need to know and understand sonar view or down view, traditional view, charter image reading etc. to use these units perfectly. Because you don’t need to know about all the other features which are used inside the above main features.
Things to do while fishing using Garmin Fish finder
First thing you need to do is, turn on the Garmin fish finder and set the sensitivity where you can see the lake’s bottom clearly in images.
Second thing you need to do is to find the area on the charter that’s old in the fish.
Third thing you need to do is to find the fish within that area using the traditional view or down sonar view.
Final Words
Now you know about all the main features of the Garmin fish finder and how to read the Garmin fish finder. Also, you know which view is good to catch fishes in no time. I will suggest you to get the best Garmin fish finder for you, set it on your boat and start searching for the best sport where you can find the fish school. Good Luck!
Keep Reading
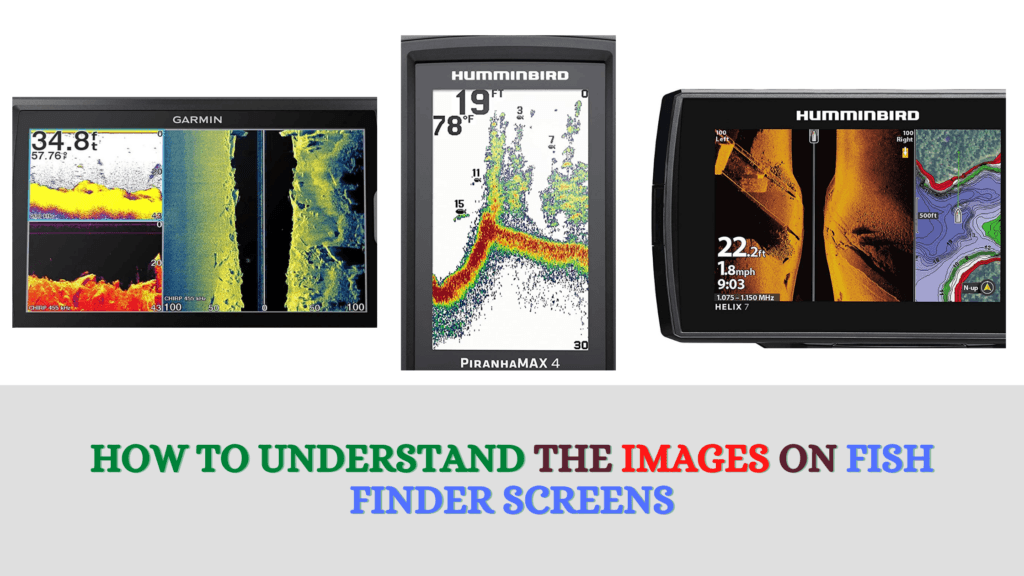
How To Understand The Images On Fish Finder Screen - Easy Guide
I will explain how to understand the images on the fish finder screen without any difficulty. You just need to keep few things in mind.
Read More →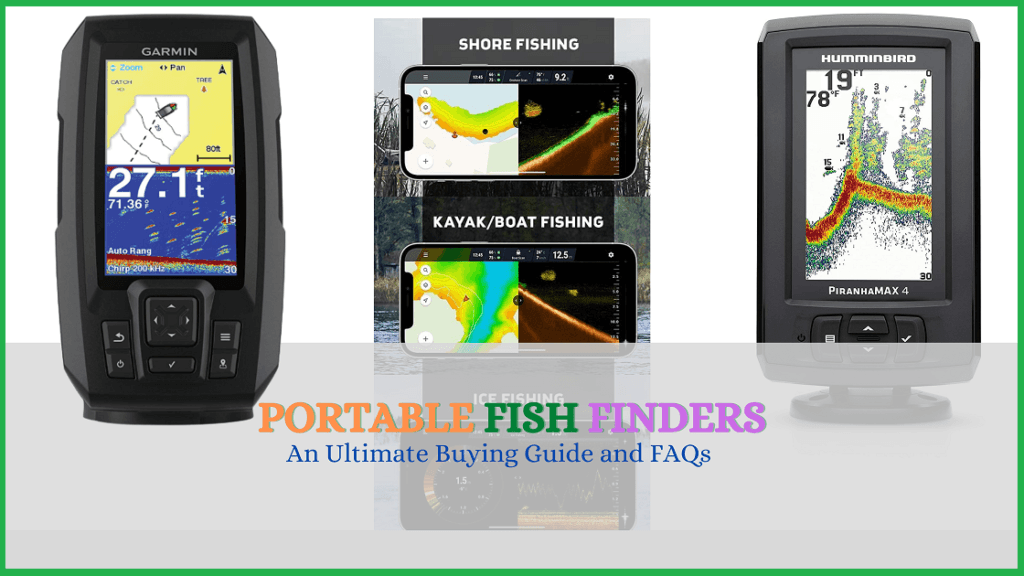
Portable Fish Finders – An Ultimate Buying Guide
Portable fish finders are ideal for detecting all types of fish, large and small. they are used for different fishing types. you need to buy.
Read More →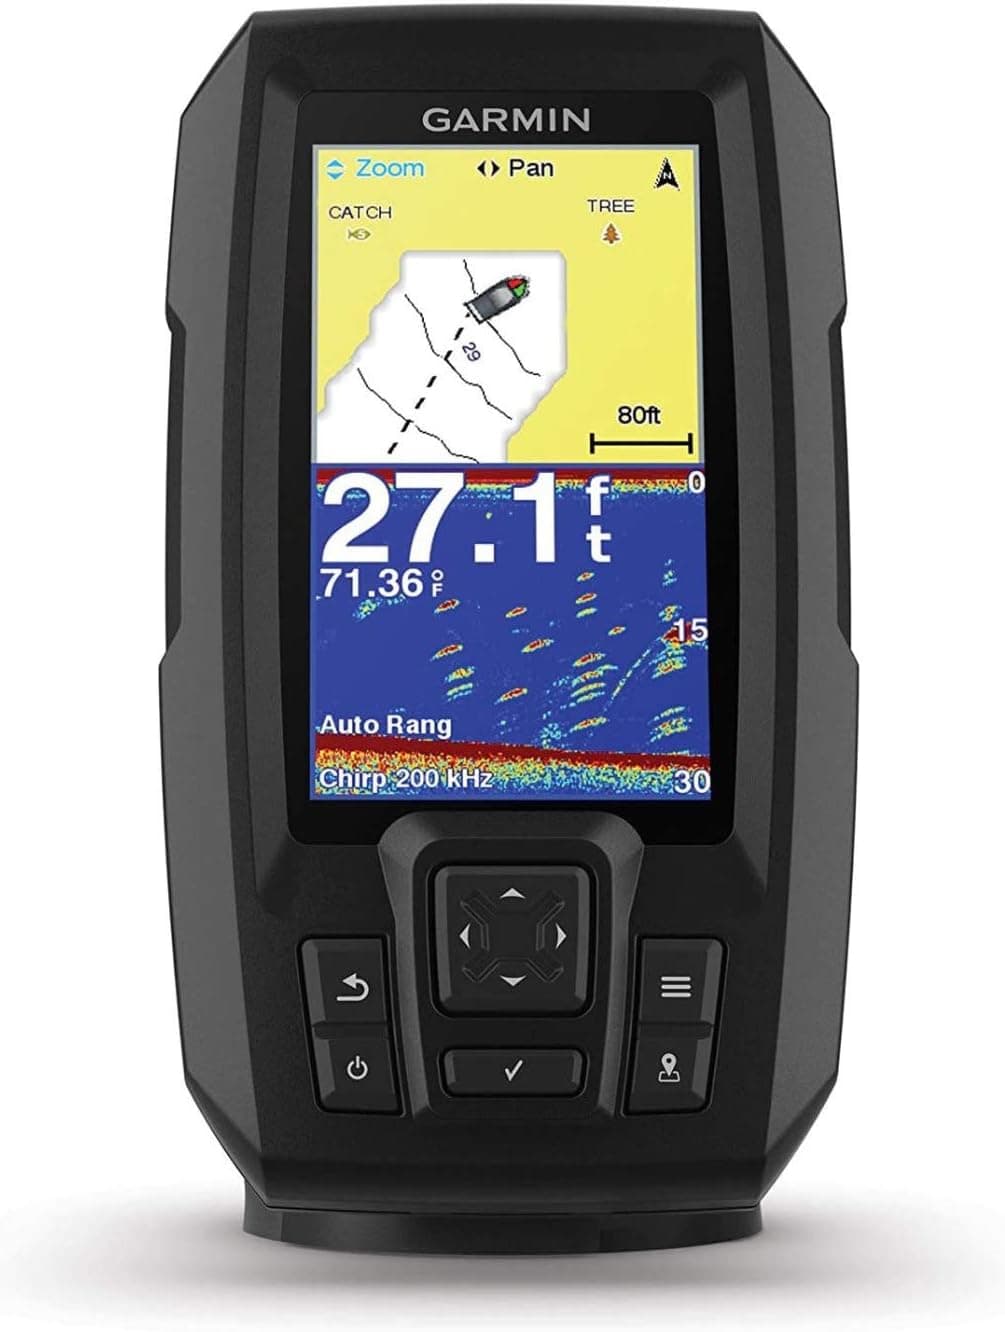
Best Fish Finder Under $200: 7 Tested Picks That Don't Cut Corners (2026)
You don't need to spend $1,000 to fish smarter. These 7 fish finders under $200 cover boat, kayak, shore and ice — with honest notes on what you give up at this price.
Read More →